Fences and Railings Archives - Page 2 of 2 - Super Fabrications

Vinyl-Residential-Fencing-min-1280x745.jpg

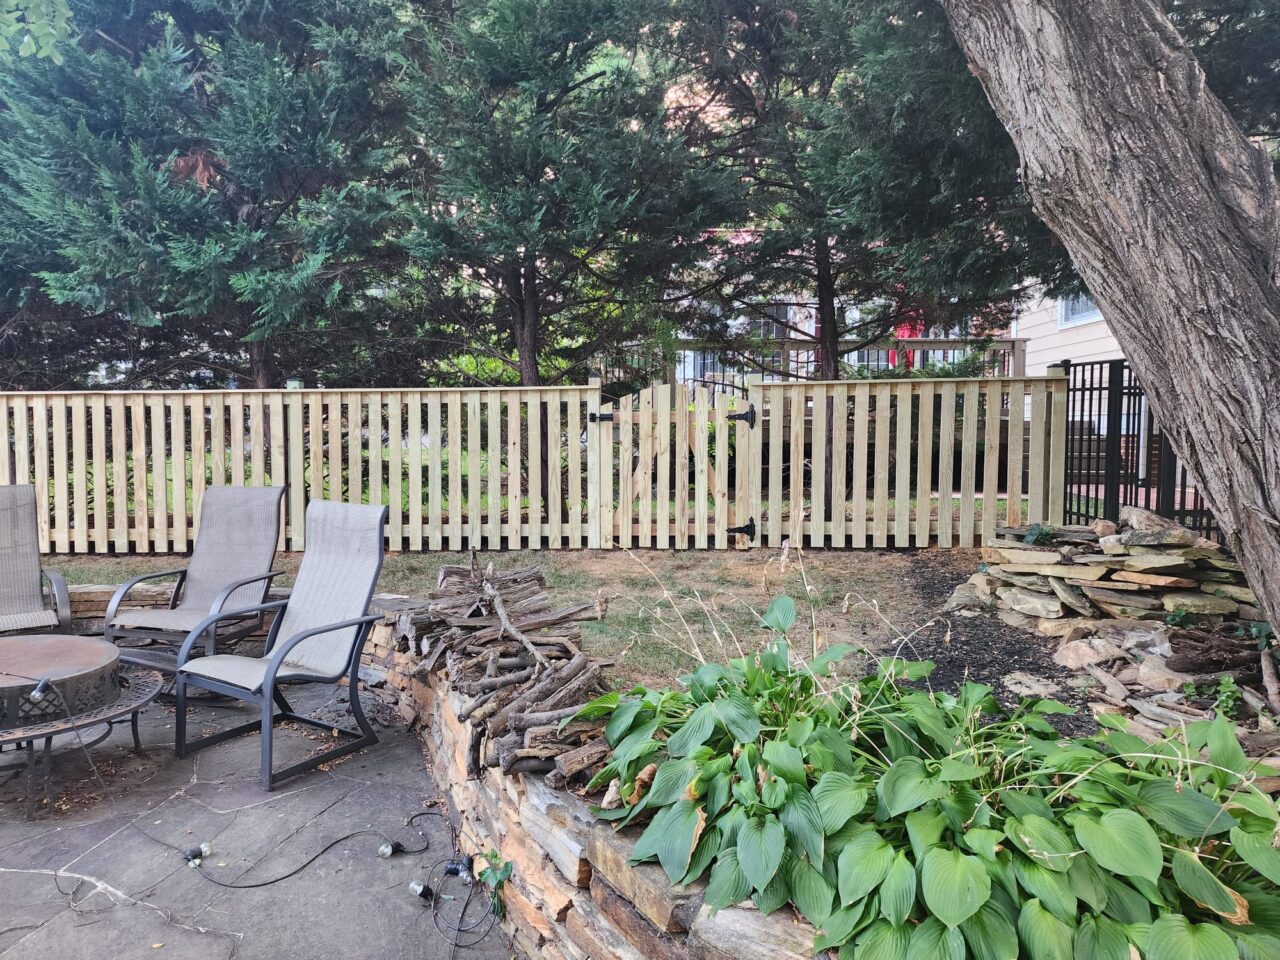
What Is Vinyl Residential Fencing?

Vinyl residential fencing is a great alternative to traditional wood or metal fences made from polyvinyl chloride (PVC). This material is engineered to withstand the elements and offer homeowners a low maintenance solution for property boundaries. Available in many styles and colors, vinyl fencing can match any architectural design and enhance the curb appeal of your home. ​

Why Choose Vinyl Fencing for Your Backyard

Vinyl residential fencing has many benefits that make it a smart investment for many homeowners. One of the biggest is low maintenance. Unlike wood, vinyl doesn’t need painting, staining or sealing. It’s moisture, rot, termite and rust resistant so it looks new with just occasional cleaning.

Another big benefit is durability. Vinyl fencing is built to withstand harsh weather conditions, sun, rain and snow. It doesn’t warp, crack or fade easily so it’s a long lasting choice.

Aesthetics is also a major reason homeowners choose vinyl. With clean lines, many color options and styles like privacy, picket or semi-private, vinyl fences can fit modern and traditional homes.

Common Concerns About Vinyl Fencing

While vinyl residential fencing has many benefits, there are a few things to consider before you decide.

One of the biggest concerns is initial cost. Vinyl fences are generally more expensive than wood or chain link fences. But this is often offset by lower maintenance and repair costs down the line.

Another concern is temperature sensitivity. In very cold climates, vinyl can become brittle and crack if hit. In very hot conditions, the material can expand slightly but modern vinyl products are designed to handle this with minimal impact.

Some homeowners worry about limited color options. While vinyl comes in many styles and neutral tones, it doesn’t offer the same level of customization as painted wood. But its clean and modern look appeals to many.

Vinyl vs. Other Fencing Materials (Wood, Chain Link, Aluminum)

When you’re choosing the right fence for your backyard, it’s worth comparing vinyl to other popular materials like wood, chain link and aluminum. That comparison will give you a better sense of what you want.

Wood fencing has that classic, natural look-but it needs a lot of maintenance. You’ll be painting, staining and protecting it against rot and insects. Vinyl offers a similar look with a fraction of the upkeep. Sure, it may cost a bit more upfront, but it lasts longer and doesn’t deteriorate as quickly as wood.

Chain link is the budget-friendly option if you don’t care about looks. But it doesn’t offer much privacy-and can look pretty industrial or uninviting. Vinyl fencing gives you a much more attractive appearance and a lot more privacy. That makes it a better fit for residential backyards where you want to feel secure and private.

Aluminum fences are lightweight, rust-resistant and great for decorative designs. Both vinyl and aluminum require little maintenance, but vinyl gives you better privacy because of its solid panels. If you want a yard that feels really enclosed and private, vinyl is the better choice. If you want a yard that’s elegant and visible, aluminum might be the way to go.

Each material has its strengths. But for homeowners who want a balance of appearance, durability and low maintenance, vinyl fencing often comes out on top.

How to Know If Vinyl Fencing Is Right for Your Backyard

When deciding whether vinyl fencing is right for your backyard, there are a few things to keep in mind that will help you figure out if it’s the best fit for you.

Maintenance is one of those things. If you don’t want to spend your free time painting or staining your fence, vinyl is a great choice. A quick rinse with water usually keeps it looking clean-and that’s about it.

You’ll also want to think about your privacy and security needs. Vinyl fencing comes in full-panel styles that give you complete peace of mind-and your family, pets or just your own outdoor space-where you can enjoy them without interruptions.

Your local climate is another factor. Vinyl fencing does well in most places, but if you live somewhere with really cold winters, you might want to look for higher-quality vinyl that can resist cracking.

That longevity is also worth considering. If you plan to be in your home for many years, vinyl is a smart investment. It won’t warp or rot over time, so it will keep its structure and look for decades to come.

Design and Style Options for Vinyl Fences

Vinyl residential fencing is as much about style as it is about functionality. That versatility in design options is one of its greatest advantages and one that lets you match your home’s look to your personal taste.

Privacy fences are among the most popular vinyl styles. They’re great for keeping your backyard secluded and secure. Those solid panels block visibility and noise so you can enjoy your outdoor space without being on display.

Picket fences have a classic, decorative touch. Evenly spaced vertical slats give them a traditional appearance that works beautifully in front yards or gardens where you want to be seen. And seen to be welcoming.

Semi-privacy fences strike a balance between airflow and screening. They have small gaps between the slats, so you get some openness without sacrificing too much privacy. That makes them ideal for homeowners who want a little bit of both.

Ranch rail or split-rail vinyl fences are often used in large yards or rural areas. They have a rustic look that’s perfect for marking property lines.

Cost of Vinyl Residential Fencing: What to Expect

The cost of vinyl residential fencing can vary but it’s a mid-to-high range investment with long term value.

On average homeowners can expect to pay between $20 to $40 per linear foot for vinyl fencing, including materials and installation. For a standard backyard (150 linear feet) that’s $3,000 to $6,000.

Factors that affect the price:

  • Fence style (privacy panels cost more than picket or rail)
  • Fence height and thickness
  • Customization (color, texture, decorative features)
  • Labor (varies by location and contractor)
  • Terrain complexity (sloped or rocky areas increase installation time and price)

Although the initial cost of vinyl fencing is higher than wood or chain link, you need to consider the lifetime value. With minimal maintenance and no need to stain, paint or replace rotten panels vinyl fencing can be more cost effective in the long run.

Some manufacturers offer warranties from 20 years to a lifetime so you have added peace of mind on your investment.

Installation: DIY vs. Hiring a Pro

When it comes to vinyl residential fencing, homeowners have two options: DIY or hire a pro. Each has its pros and cons and it all depends on your budget, experience and time.

DIY can save you labor costs—often a big chunk of the total project. Vinyl fencing systems are designed to be easier to assemble than traditional materials. Most kits come with pre-routed posts and interlocking panels, so it’s relatively simple to install.

But precision is key. You’ll need to measure your property accurately, dig post holes at the right depth and make sure each panel is level and aligned. Mistakes will result to unstable fences or added costs in repairs.

Hiring a pro means the job will be done right and fast. A fencing contractor will bring the right tools, experience and knowledge of local zoning laws or HOA requirements.

⭐⭐⭐⭐⭐ Amazing quality and customer care. – Omar U.
Read more reviews


Cleaning-Carpeted-Stairs-1280x706.jpg

Why Cleaning Carpeted Stairs is Important

Cleaning your carpeted stairs is one of those often-overlooked tasks that actually has a pretty big impact on your home’s overall cleanliness and feel. That’s because carpeted stairs are where dirt, dust and stains tend to accumulate-fast. Not only does that affect how welcoming your home looks, but it can also contribute to the buildup of allergens that can affect your health. By cleaning those stairs regularly, you’re creating a healthier living environment and helping your carpet last longer.

Time can make your carpets look worn and faded. And if you don’t deal with those stubborn stains right away, they can become much harder to remove. Cleaning your carpeted stairs brings back their appearance, making them look fresh and inviting again. A clean staircase also does wonders for your home’s appearance-especially in areas where everyone walks through.

Regular cleaning has another benefit: it prevents allergens like dust mites, pet dander and pollen from building up. That means fewer allergy and asthma triggers in the air you breathe. By cleaning your carpeted stairs, you’re reducing the risk of those allergens spreading throughout your home. And that keeps your living space healthier and cleaner.

What You Need to Clean Carpeted Stairs

Before you start cleaning your carpeted stairs, make sure you have all the right tools and materials. Having everything you need will make the process go smoothly.

  1. Vacuum: A good vacuum is one of the most important tools for cleaning carpeted stairs. Look for one with a hose attachment or a handheld with a rotating brush. This will allow you to get into all the nooks and crannies of your stairs and remove dirt, dust and debris that has accumulated in the carpet fibers.
  2. Carpet Cleaner or Cleaning Solution: For deeper cleaning especially for stains you’ll need a good carpet cleaner. Choose a cleaning solution that’s safe for your type of carpet. There are many options out there from sprays to foams that can help remove stains and odors from your carpeted stairs.
  3. Scrub Brush: A soft-bristled scrub brush will help you gently scrub stains or areas that need extra attention. Don’t use a hard-bristled brush as it may damage the carpet fibers.
  4. Clean Towels or Microfiber Cloths: These are great for blotting up spills and wiping down surfaces. Microfiber cloths are especially good because they trap dust and dirt without leaving behind lint.
  5. Baking Soda: This common household item is a miracle worker for carpets. Sprinkle a light dusting of baking soda over your stairs before vacuuming to neutralize odors.

Having these tools and materials ready will make the process much easier and more effective. With the right equipment you’ll be able to clean your carpeted stairs like a pro.

Step 1: Vacuuming Your Carpeted Stairs

Vacuuming is the first and most important step in cleaning your carpeted stairs. It gets rid of loose dirt, dust and debris on the surface. When vacuuming carpeted stairs, make sure to use the right attachment to get the job done.

Start at the top of the stairs and work your way down. That way any dirt that falls during the process will be cleaned up as you go. Use a vacuum with a hose attachment or a handheld vacuum with a brush nozzle. The brush nozzle is great for loosening dirt from the carpet fibers so it’s easier to pick up with the vacuum.

Pay attention to the edges and corners of each step. These areas tend to collect dirt and debris that a standard vacuum head may miss. You may need to angle the vacuum hose to get to the edges. It’s also a good idea to vacuum the risers (the vertical part of each step) as dust and debris tend to accumulate there as well.

Step 2: Stain and Spill Treatment

Stains and spills are common on carpeted stairs especially in high traffic areas. Whether it’s coffee, wine or mud, treating stains quickly is important to prevent them from setting in and becoming harder to remove.

To treat a stain, start by blotting the area with a clean cloth or paper towel to absorb as much of the spill as possible. Don’t rub the stain as this can push it deeper into the carpet fibers. After blotting, use a carpet cleaning solution or a homemade remedy to treat the stain. You can make a simple solution using equal parts of water and white vinegar which works for most types of stains. Apply the solution to the stained area and let it sit for a few minutes.

After the solution has sat, gently scrub the stain with a soft-bristled brush to lift it. Always test any cleaning solution on a hidden part of the carpet first to make sure it doesn’t cause discoloration.

Step 3: Deep Cleaning with Carpet Cleaner

After vacuuming and treating stains, it’s time for a deep clean. Using a carpet cleaner will remove embedded dirt, allergens and odors from the carpet fibers and give your carpeted stairs a fresh look.If you have a carpet cleaner machine, follow the manufacturer’s instructions. Fill the machine with a carpet cleaning solution that’s suitable for your carpet type. Work in small sections, start at the top of the stairs and work your way down. That way the dirty water will flow down and not affect already cleaned areas.

For areas that need extra attention you can use a carpet cleaner spray or foam, apply it directly to the carpet and let it sit for a few minutes before agitating with a brush or scrub tool.

Step 4: Dry and Fluff the Carpet

Now that you’ve cleaned your carpeted stairs, make sure the carpet is dry to prevent moisture buildup. Damp carpets can attract dirt and even develop a musty smell over time.

To dry your carpeted stairs, open windows or use a fan to circulate air and speed up the drying process. If you have a dehumidifier, you can use it to remove moisture from the air and help the carpet dry faster.

Once the carpet is dry, fluff the fibers with your hands or a soft-bristled brush. This will restore the texture of the carpet and make it look fresh and soft again. Fluffing also prevents the carpet from matting down and keeps it looking its best.

By drying and fluffing your stairs you’ll have a clean, fresh and soft finish that looks great and feels good to walk on.

Tips for Cleaning Carpeted Stairs

Cleaning your carpeted stairs in between deep cleanings will help extend the life of your carpet and keep them fresh. Regular maintenance reduces dirt and stain buildup making it easier to clean when the time comes. Here are a few simple tips to keep your carpeted stairs looking their best:

First, vacuum your stairs regularly. At least once a week, vacuum the edges and corners where dirt tends to accumulate. If you have pets, vacuum more often to remove pet hair and dander. You can also sprinkle a little baking soda on the carpet before vacuuming to neutralize odors.

If spills or stains happen, treat them immediately. The sooner you act the easier it is to remove the stain before it sets. Always have a cleaning solution or stain remover on hand for emergencies.

Another tip is to put a doormat or rug at the bottom of the stairs to reduce the amount of dirt being tracked up. You can also tell family and friends to remove their shoes before walking on the stairs to minimize dirt transfer.

Finally, consider using a carpet protector or stain resistant spray especially in high traffic areas. This will help prevent dirt from sticking to the fibers making it easier to clean and keep your stairs looking new for longer.

Common Mistakes to Avoid When Cleaning Carpeted Stairs

Cleaning carpeted stairs is easy but there are a few common mistakes people make which can lead to less effective cleaning or even damage to the carpet. By knowing these mistakes you can ensure your cleaning process is as effective and safe as possible.

One common mistake is using too much water. While you need to clean the carpet, too much water can make the carpet too wet and take longer to dry or worse mold will grow. Always use a moderate amount of cleaning solution and water to avoid soaking the carpet.

Another mistake is using harsh chemicals or cleaning solutions that can damage the carpet fibers or discolor the fabric. Always check the labels on your cleaning products to make sure they’re safe for your carpet type. If in doubt opt for a gentle natural cleaning solution like white vinegar and water.Another mistake is not cleaning the edges and corners of the stairs. These areas are often forgotten but collect a lot of dirt and dust. Use the hose attachment or handheld vacuum to get into these tight spaces.

How to Keep Your Carpeted Stairs Clean

Keeping your carpeted stairs clean is all about maintenance and prevention. By adding a few simple habits to your daily routine you can keep your stairs clean without having to deep clean all the time.

One of the easiest ways to keep your carpeted stairs clean is to put mats or rugs at the top and bottom of the stairs. This stops dirt and debris from getting on the stairs. Mats can catch dirt before it even gets to the carpet making it easier to look clean.

Another simple tip is to vacuum your stairs regularly to remove surface dirt. Plus vacuuming, deep clean your stairs every now and then to remove dirt and allergens that the vacuum doesn’t pick up. You can do this with a carpet cleaning machine or a professional carpet cleaner.

When you spill, clean it immediately to prevent stains. Keep a stain remover handy and treat spots as soon as they happen. The quicker you deal with it the less likely a stain will set in.

⭐⭐⭐⭐⭐ Great team, beautiful results. – Daniel C.
Read more reviews


IMG-20240716-WA0009-1280x960.jpg

When planning to install a fence in Arlington County, VA, it’s essential to familiarize yourself with local fence regulations to ensure compliance and avoid potential fines or disputes. This guide provides a comprehensive overview of the key requirements and considerations for fence installation in this area.

The first question is that do I need a permit for fence installation in Arlington? The answer is yes. Permits are required for new fence installation and fence replacement.

Fence Regulations: Maximum Fence Heights

The maximum allowed heights for fences in Arlington County depend on their location and purpose:

  • Residential Properties: Fences can be up to 4 feet tall in front yards and up to 6 feet tall in rear yards.
  • Residential Properties: Corner lots. fences can be up to 3 feet tall in front yards for 25′ long on each side of the street
  • Commercial Properties: The maximum height is 8 feet, but fences within the front yard setback cannot exceed 4 feet

For the followings:

  • Fences over 4 feet tall in the front yard.
  • Fences over 6 feet tall in the rear yard.
  • Fences that exceed height limits or are within specified setback areas​

Please contact Arlington County Zoning Department.

Placement and Setback Requirements

  • Property Lines: Fences must be installed entirely within your property boundaries, with a typical setback of at least 2 feet from the property line. This helps to avoid disputes with neighbors and ensures compliance with local regulations​
  • Corner Lots: Special regulations apply to corner lots to maintain visibility for traffic. Fences within a sight triangle (formed by the curb lines of the intersecting streets) must not exceed 4 feet in height to ensure safety for drivers and pedestrians​
  • Arlington county has provided the following guidelines:

    Fence Regulations in Arlington County, VA
    Set back for Fence Regulations in Arlington

Apply for the permit

A permit can be applied by the homeowner or a licensed contractor

  • A completed permit application.
  • A property survey showing the exact boundaries.
  • Detailed plans of the proposed fence, including height, materials, and location​

Homeowners Association (HOA) Regulations

If your property is governed by an HOA, they may have additional rules regarding fence style, material, and height. Always check with your HOA before finalizing your plans to ensure compliance with their specific requirements​

Safety and Design Considerations

Safety is a significant concern for fence installations:

  • Fences should not obstruct sightlines for traffic or pedestrians.
  • Gates, particularly those providing access to swimming pools, must be self-closing and self-latching to prevent accidents​
  • Fence materials should be sturdy and free of protruding nails or sharp edges to avoid injuries.

Property Survey:

  • Contact the County: Start by requesting a copy of the plat or property survey from the county office records for property boundaries, especially if the plat has been previously recorded. Here is the website. Please submit a record request from county records, online after creating an account.
  • Licensed Surveyor: If the county does not have a copy on file, your next step is to hire a licensed surveyor. A surveyor can create an updated plat or survey, clearly defining property boundaries and other key details.

Final Thoughts

Before starting your fence project, it is crucial to check with the Arlington County Zoning Department to ensure your plans comply with all local regulations. This step will help you avoid fines, legal disputes, and the potential removal of your fence. For more detailed guidance, visit the Arlington County Zoning Division’s website or contact them directly​

By following these guidelines, you can ensure that your new fence meets all local requirements and enhances the safety, privacy, and aesthetics of your property. You may read further from the main source where the information has been collected. 

If you’re ready to take the next step toward fencing  or would like to obtain more information, contact Super Fabrications today. Our team of licensed professionals is here to provide you with a custom solution tailored to your needs and budget. Reach us at 888-820-6099 or visit superfabrications.com to schedule your free estimate.


Here is a link to calculate the fence cost online for free


About Us

Super Fabrications

Super Fabrications delivering high-quality design and installation services for fences (aluminum fence, vinyl fence, chain-link fence, wood fence), railings, and stairs. With a commitment to excellence and professionalism, we ensure every project reflects our dedication to durability, aesthetics, and customer satisfaction.

Get In Touch

Contact Us


(888) 820-6099
Info@superfabrications.com
www.superfabrications.com

2433 McClintic Ct, Vienna, VA 22180